
HTML (HyperText Markup Language) is the standard language used to create and structure content on the web. It uses tags like <h1>, <p>, and <a> to define headings, paragraphs, links, and other elements of a webpage.
You need a text editor (like VS Code or Notepad), a web browser (like Chrome or Firefox), and basic knowledge of HTML syntax to create a website with HTML. No special software or internet connection is required to get started.
First, create a project folder and open a new file with the .html extension. Then add basic HTML structure, including the <html>, <head>, and <body> tags. Start inserting elements like headings, text, images, and links. Save the file and open it in your browser to view your website.
What Is HTML and How Does It Power Websites?
HTML (HyperText Markup Language) is the basic building block of every website. Think of it as the skeleton of a webpage; it structures the content you see online, from headlines and paragraphs to images and links. While it doesn’t make things pretty (that’s CSS) or interactive (that’s JavaScript), HTML is what holds everything in place.
Just like a house needs walls, doors, and rooms before you paint or install smart devices, a webpage needs HTML to organize content before you add styling or interactivity. Every element you interact with online, blog posts, signup forms, embedded videos—starts with HTML tags.
Here’s a quick example of what HTML looks like:
<h1>Hello, World! </h1>
<p>This is my first website. </p>
In this code:
- <h1> represents a heading.
- <p> is a paragraph.
The text inside is what users will see on the webpage.
Today, most modern sites use HTML5, the latest version of the language. HTML5 introduces new tags like <header>, <section>, <video>, and improved browser compatibility. It’s more semantic, which means the code not only works better but also makes more sense to both developers and search engines. It is best to use a web development agency with good knowledge of HTML.
What Do You Need to Create a Website with HTML?
You need a text editor, a web browser, and a basic understanding of HTML tags to create a website with HTML. Optionally, you can add CSS for styling and organize your files into folders to keep your project clean and scalable.
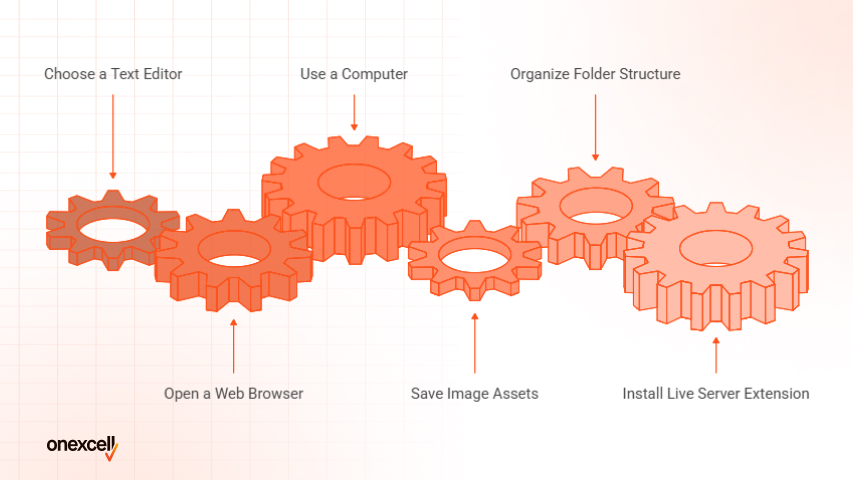
Here are the things you need to create a website with HTML:
- Text Editor: You’ll need a text editor to write and save your HTML code. Popular options include Visual Studio Code, Sublime Text, and Notepad++ — all of which highlight syntax and make editing easier. Even the default Notepad on Windows can work, but advanced editors save time and reduce errors.
- Web Browser: A web browser like Chrome, Firefox, or Edge is required to view your HTML pages. Browsers interpret the HTML code and visually display your website. You don’t need internet access, just open the file directly in your browser.
- Computer: Any basic computer or laptop will do. You don’t need special hardware or a server to begin. HTML websites run locally on your machine. This makes it perfect for beginners experimenting without needing an online setup.
- Optional: Image Assets: If your website will include images, you’ll need to save them in your project folder. Use common formats like JPG, PNG, or SVG. Organize them in an /images folder to keep your site neat.
- Optional: Folder Structure: Keeping your project organized in folders (e.g., index.html, /css, /images) helps with scalability. It’s good practice even for beginners. As your site grows, this structure makes it easier to manage.
- Optional: Live Server Extension: Tools like Live Server (available on VS Code) allow you to view your website in real time as you edit it. This gives instant feedback and makes development smoother. It’s not essential, but it’s highly recommended.
If you can type, you can code. Starting with HTML is that simple: no internet, no downloads, no excuses.
Step-by-Step Guide to Make a Website with HTML
You make a website with HTML by writing structured code that defines the elements of your webpage, like headings, paragraphs, images, and links, using HTML tags. Then, you save the file with a .html extension and open it in a browser to view your site.
Here are step-by-step guides to make a website with HTML:
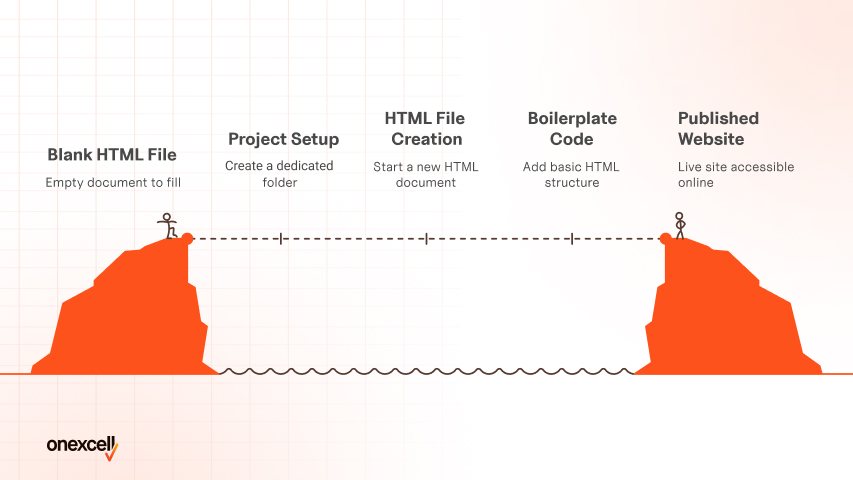
Step 1: Set Up Your Project Folder
Start by creating a new folder on your computer where all your website files will live. Name it something like My Website so it’s easy to identify. Inside this folder, you’ll later organize your HTML files, images, stylesheets, and other assets. Keeping everything in one place makes it easier to manage and upload your site later.
Step 2: Create Your First HTML File
Open a text editor like Notepad (Windows), TextEdit (Mac in plain text mode), or a code editor like VS Code or Sublime Text. Create a new file and save it as index.html inside your project folder. The name index.html is important because most web servers load it as the default page. Make sure the file extension is .html, not .txt.
Step 3: Add Basic HTML Boilerplate Code
In your index.html, start with the basic structure of an HTML document:
<!DOCTYPE html>
<html>
<head>
<title>My First Website</title>
</head>
<body>
</body>
</html>
This code tells the browser how to read the file. The <head> section holds information like the page title, and the <body> contains everything that shows on the screen.
Step 4: Insert Headings, Paragraphs, and Text Content
Inside the <body> tag, you can begin writing content using HTML tags. For example, use <h1> to <h6> for headings, and <p> for paragraphs. Example:
<h1>Welcome to My Website</h1>
<p>This is my very first webpage built with HTML.</p>
These tags help structure your content for readability and SEO.
Step 5: Add Images and Links
To insert an image, use the <img> tag like this:
<img src=”images/photo.jpg” alt=”A beautiful scene”>
To add a clickable link, use the <a> tag:
<a href=”https://example.com”>Visit Example</a>
Make sure the file paths are correct and images are placed in an images folder if you use one.
Step 6: Create Lists and Tables
Use <ul> for unordered (bulleted) lists and <ol> for ordered (numbered) lists. Inside them, wrap each item in <li> tags. For tables, use <table>, <tr> (table row), <td> (table data), and <th> (table header) like this:
<table>
<tr>
<th>Name</th><th>Age</th>
</tr>
<tr>
<td>Jane</td><td>30</td>
</tr>
</table>
Lists and tables help organize content for better visual structure.
Step 7: Add HTML Forms (Optional)
Forms allow you to collect user data. Use the <form> tag with inputs like this:
<form>
<label>Name:</label>
<input type=”text” name=”username”>
<input type=”submit” value=”Submit”>
</form>
Although HTML can create the form structure, processing the data requires backend technologies like PHP or JavaScript.
Step 8: Add Internal CSS Styling (Optional)
To change the look of your website, you can add CSS inside a <style> tag in the <head> section:
<style>
body {
font-family: Arial, sans-serif;
background-color: #f2f2f2;
}
h1 {
color: navy;
}
</style>
This helps you style text, colors, layout, and spacing for a cleaner web design.
Step 9: Save and Preview Your Website in a Browser
After editing your HTML file, save it and double-click the index.html file to open it in your browser. You’ll see your website rendered just as users would see it online. Refresh the browser after every change to view updates. This is how you test and iterate your design.
Step 10: Organize Files and Prepare for Publishing
Before going live, organize your project folder. Create subfolders like images, css, or scripts to keep things tidy. To publish your website, you’ll need to upload the folder contents to a hosting provider using FTP or a web-based file manager. Once uploaded, your site becomes accessible to anyone via your domain name.
Need to ask Something else?
Use the form here to send us your question. We’ll reply within one business day.
What’s the Difference Between HTML and a Website Builder?
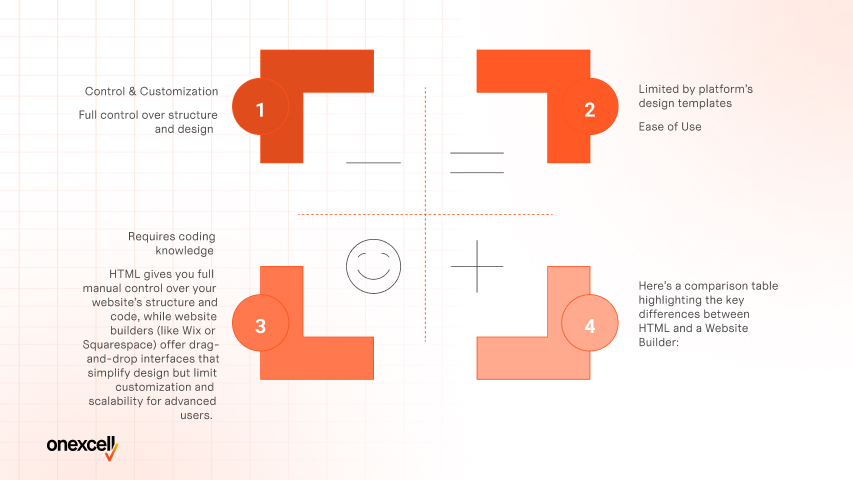
The difference between HTML and a website builder lies in control, complexity, and convenience. HTML gives you full manual control over your website’s structure and code, while website builders (like Wix or Squarespace) offer drag-and-drop interfaces that simplify design but limit customization and scalability for advanced users.
Here’s a comparison table highlighting the key differences between HTML and a website builder:
| Feature | HTML | Website Builder |
| Control & Customization | Full control over structure and design | Limited by platform’s design templates |
| Ease of Use | Requires coding knowledge | Beginner-friendly drag-and-drop interface |
| Learning Curve | Steeper – must understand HTML/CSS | Minimal – no coding skills required |
| Flexibility | Highly flexible for custom features | Good for simple to moderate websites only |
| Cost | Free tools available; hosting/domain separate | Often includes hosting, but monthly fees apply |
| Speed of Setup | Slower – must code and test manually | Faster – ready-made blocks and themes |
| Scalability & SEO | Can be optimized deeply for performance & SEO | Limited control over technical SEO and performance |
Can You Make a Full Website with HTML Only?

Yes, you can create a full website using only HTML, but it will be very limited. HTML structures your content, but it won’t have design (without CSS) or interactivity (without JavaScript).
HTML is great for basic static pages like documentation or portfolios, but not ideal for dynamic or modern websites.
Read more on how to create a full website
Do I need to install anything to write HTML?
No, you don’t need to install anything special to write HTML. All you need is a basic text editor like Notepad (Windows) or TextEdit (Mac), and a browser to view the result.
Can I use Notepad or Word to create HTML pages?
Yes, you can use Notepad to write HTML pages, but avoid using Word. Word adds extra formatting that breaks the HTML structure. Use plain text editors or code editors like VS Code or Sublime Text instead.